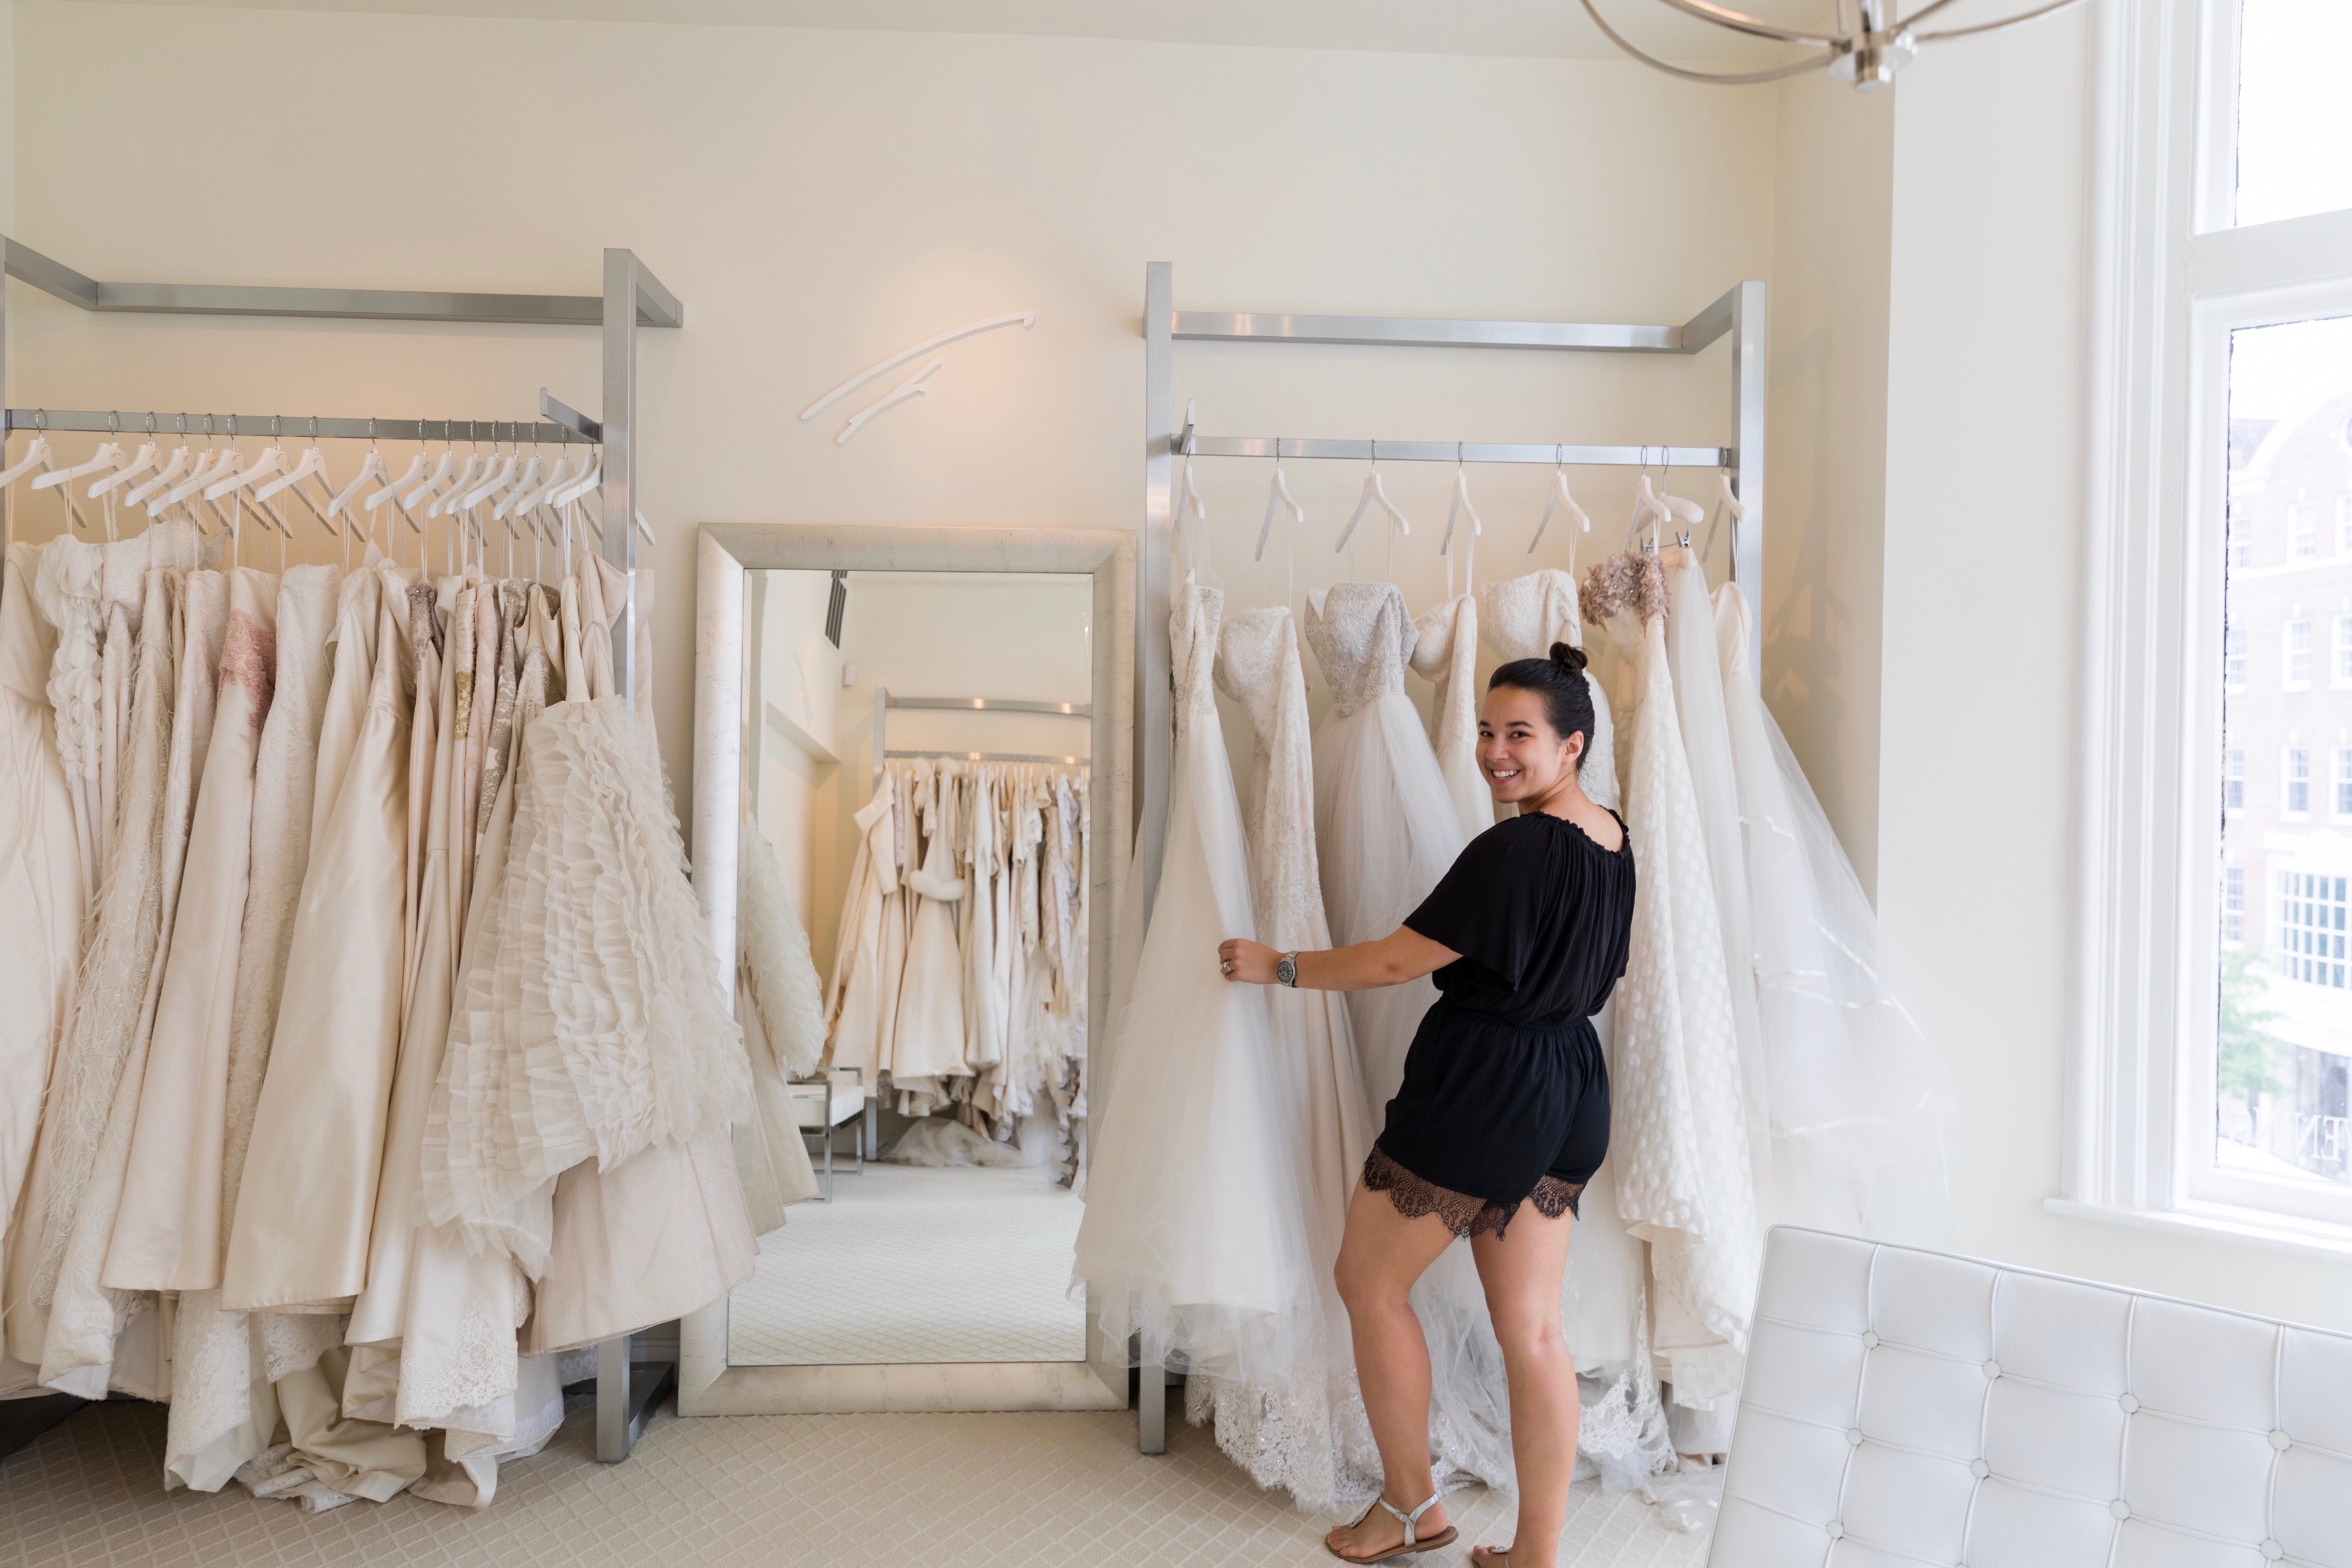
A few weeks ago I shared a blog post about why I decided to go for a custom wedding dress made by Firas Yousif of Firas Yousif Originals on Newbury Street in Boston. Now I’m going to share more on the process of getting a custom wedding dress made and even give a few sneak peeks into my actual dress!

Step 1: Custom Wedding Dress Designer–Meet with Firas
First, I scheduled an appointment with Firas at his shop in Back Bay where we chatted about the wedding day, looked through his samples, reviewed inspiration photos and discussed the visual effect I wanted for the wedding day—with the dress being a big part of that overall visual. As soon as we began chatting, I could tell that Firas understood exactly what I was looking for.

And as we started looking at dress samples and fabrics, I was so happy that the process was so different from any other dress shopping experience I have ever had. Instead of trying on a bunch of dresses and hoping that one of them would check off some boxes, we were figuring out how to create the perfect bespoke dress that would be unique to my wedding!
Step 2: Custom Wedding Dress Designs
About a week later, I came back to review sketches of some designs Firas thought I would like. We looked over the sketches, he took what we had chatted about and turned them into real designs. And just as I was hoping, he took the feeling I wanted and transformed that into a beautiful design with elements that only a designer could come up with—trust me you won’t find these ideas on Pinterest!

Step 3: Taking My Wedding Dress Measurements

On the next visit, he took my measurements and we talked more about fabrics. Since our last design meeting, he had sourced some really special fabrics that he was excited to work with and that would be perfect for a dress that has to travel across the Atlantic. Again, this is a huge benefit of working directly with a designer. They know what fabrics are good for certain climates, situations and the logistics of a wedding day so that the bride can look her best and be stress free all day. Can’t wait to show you guys my fabrics, hint: there are a few!
Step 4: Muslin Fitting
We completed step 4 in August. I went in and got to try on the first version of my dress! The sketch was now a muslin sample. Muslin is essentially a test fabric allowing us to adjust the fit, make some design tweaks and see how the silhouette actually looks on me. Firas and his technical assistant made lots of adjustments so that when the dress is produced in my fabrics it will be very close to a perfect fit so that on the next visit only minor adjustments will have to be made.
Step 5: Custom Bridal Gown Fittings
Finally, on my next visit, I will get to try on my real dress! It will be in the real fabric and we will get to see the whole effect! Any last adjustments will be made and then after another week or so I will get to come back and pick up my dress! Firas has been a dream to work with, I am so excited to share the finished product with you all, so be sure to keep following along and trust me, there will be lots of dress pictures coming soon!

But in the meantime, for more of Firas’ style, follow him on Instagram @firasyousiforiginals and check him out at https://www.firasyousiforiginals.com. And to catch the next in this wedding dress shopping series read my posts on the wedding dress behind the scenes and why you should go custom!


